Black Tides – Log 7: The Cliffs Fight Back
Platform: Steam Deck
Mode: Normal
Format: No Commentary
Video: family crest recovered, giant eel encounters, ship repairs, explosives unlocked, and Gale Cliffs navigation attempts (no commentary)
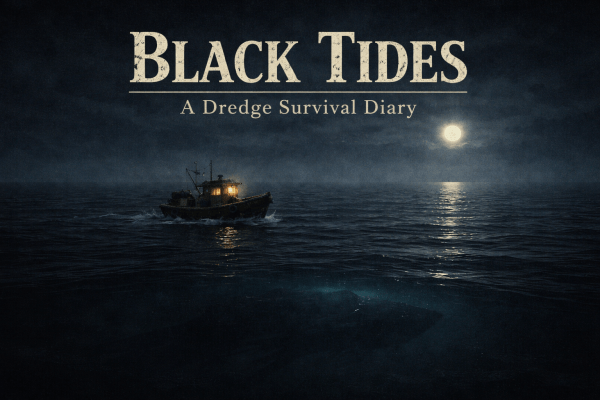
The next job was simple on paper. Find the family crest the hermit marked on the map. Looking at the route, it was clear I’d need to make my way through the cliffs to reach it, but the path itself didn’t look too bad. I plotted a course and headed out.
As soon as I passed through the stone arch, something large came straight out of the water. I’m assuming it was an eel, but whatever it was, it was far bigger than anything I’ve seen so far. I tried to avoid it, clipped the cliff face, and the creature still managed to hit the boat anyway. With the ship damaged, I limped back to the travelling merchant for repairs and decided to try again the next day.
The second attempt went a little better. I chose a different route through the cliffs and managed to avoid the creature entirely, or at least I didn’t see it this time. I eventually reached the wreck where the family crest was supposed to be, recovered it, and returned to the hermit.
He told me to speak to his brother in Ingfell and ask him for forgiveness on his behalf. The brother — the whaler — agreed to help, but only if I helped him first. He wanted me to detonate some explosives to clear part of the cliffs. All I needed to do, according to him, was head through the stone arch and follow the yellow flags.
It didn’t occur to me at the time that he meant the same stone arch I had already been through. That realisation came later, after I’d already decided I didn’t like him very much.
I equipped the haste ability and headed back out, thinking the extra speed would help me avoid the eel. It didn’t. The creature appeared again, hit the boat again, and I still didn’t see any yellow flags. To make things worse, the damage meant I couldn’t even keep the conger eel I’d caught to let it rot for the other request. I had to throw it back and head straight to the merchant for repairs.
The next attempt went exactly the same way. Through the arch, eel appears, boat damaged, no flags. Back to the merchant. Repaired again. At this point I’m fairly sure she’s getting tired of seeing me dock every single night.
After checking the pursuit log and getting nowhere, I went back to the whaler and spoke to him again. This time he mentioned that the yellow flags would be on my right. That would have been useful to know the first time.
With that in mind, I tried again. This time I managed to avoid the eel long enough to spot the flags, though the creature still managed to hit the boat while I was reading what I needed to do. Another repair job, but at least the explosives were placed where they needed to be.
After reporting back, the whaler agreed to reconcile with the hermit. One awkward family reunion later, I now have access to explosives of my own. He even gave me one for free, and I bought a few more just in case.
All that should be left now is placing another charge to clear the way to the relic. Though I can’t help wondering if these explosives would work just as well on that giant eel instead.
Continue the Journey
Previous Entry:
Black Tides – Log 6
Black Tides Survival Diary:
View the full Black Tides series
Dredge Survival Hub:
Visit the Dredge Survival Hub