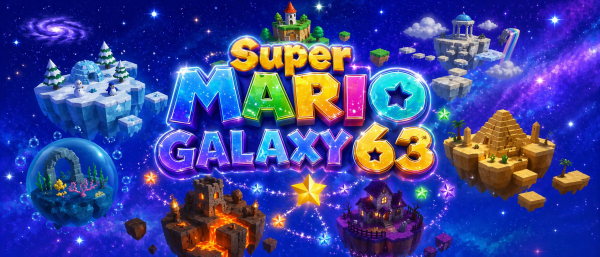
Super Mario Galaxy 63 – Entry 3: Into the Pyramid
Apparently leaving Bob-Omb Battlefield means the game immediately throws me into the desert.
Shifting Sand Land Galaxy
I say goodbye to Bob-Omb Battlefield Galaxy and try to follow what I remember about the original castle layout.
I head towards the door where I think either the secret slide or Whomp’s Fortress would normally be.
Instead, I’m greeted by Shifting Sand Land Galaxy.
So apparently we’re doing this.
There are only two shine sprites and four Comet Coins here. At least I think there are. Knowing this hack, there could easily be a hidden shine somewhere.
For now though, the goal is simple enough:
Shining Atop the Pyramid.
Comet Coins
The first Comet Coin is basically a long jump away.
There’s a platform with a large coin on it which drops star bits when collected. I use that as my launch point and long jump over what I’m assuming is quicksand.
I spin into the crystal, grab the coin, then use the star to get myself back up safely.
The second coin is a sneaky one.
It’s hidden on top of a tree, completely out of camera view.
That one needs Fire Mario.
I grab the Fire Flower, head over to a twister and spin into it, which launches me much higher than normal. Not high enough though. I still need a backflip into a spin jump to actually reach the coin.
Two down already.
The next section is more about rhythm than difficulty.
There are enemies moving across platforms that can flatten Mario if I mistime things, but they follow a pattern, so once I stop rushing it, they’re manageable enough.
Comet Coin number three is here as well.
Unfortunately, it’s floating over absolutely nothing.
So naturally it requires another backflip and spin jump combo.
Inside the Pyramid
With a shine name like Shining Atop the Pyramid, I expected to be climbing it.
Instead, I’m going inside it.
The camera shifts to a side-on angle, which immediately makes things more awkward. There are disappearing platforms, moving platforms and spikes, all moving to their own rhythm.
Thankfully it’s a rhythm I manage to keep up with.
Mostly.
Right near the end I mistime a jump and hit the spikes. For a second I genuinely think the run is over, but I manage to regain control of Mario before he walks straight off the platform.
Probably closer than it needed to be.
Still, the first shine sprite is mine.
The Next Shine
I originally planned on grabbing the second shine sprite while I was here.
In practice, that didn’t really happen.
I kept messing up one particular section and spent more time than I would have liked trying to fix my own mistakes.
Once I can get through it consistently without spending five minutes trying to recover from one bad jump, I’ll get the next recording done.
The Run
This is how it actually went.
Continue the Journey
← Entry 2: Bob-Omb Battlefield Galaxy Complete
Super Mario Galaxy 63 Hub
— All entries in this run.
Super Mario ROM Hacks Archive
— All Mario ROM hack content.
Dolphin Setup Guide
— How this run is even possible.