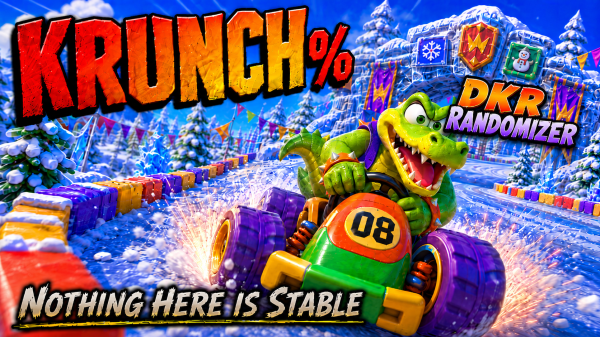
KRUNCH% Entry 3 | Darkmoon Caverns Fights Back
Seed: 232968 • Platform: Steam Deck • Character: Krunch • Format: No Commentary
Darkmoon Caverns Round Two
With Darkmoon Caverns still fresh in my mind, I decide it is time to tackle my first silver coin challenge of the randomizer.
For those unfamiliar with Diddy Kong Racing’s silver coin races, the objective is simple in theory: collect all eight silver coins and still finish the race in first place.
Unfortunately, this is KRUNCH%, where nothing is ever allowed to remain simple.
With the randomizer settings active, I have no idea how many laps the game is about to demand. Thankfully, Darkmoon Caverns gives me five laps to work with. Considering the alternative could have been one lap, I am choosing to view this as mercy.
Attempt One Goes Poorly
The first attempt actually goes reasonably well from a coin collection perspective. I manage to locate and collect every silver coin without too much trouble.
The racing itself is the problem.
By lap four, it becomes painfully obvious that the run is collapsing. Krunch is fighting every corner, momentum is inconsistent, and the race no longer feels recoverable.
I decide to restart.
Which, honestly, feels like the correct survival decision.
The Coin That Nearly Ended Me
The second attempt goes significantly better.
I collect seven coins cleanly and know exactly where the final one is waiting. More importantly, I spend a large portion of the race holding first place, which immediately makes the pressure worse.
By the final lap, things begin to unravel slightly.
I drop into second place while still missing the final coin. Thankfully, the racer ahead of me clips one of the craters, allowing me to retake the lead. Suddenly, the race is still alive.
All I need to do is grab the final coin positioned before the second loop.
I drive directly into it.
At that point, I know the race is mine.
I head into the loop already doing victory laps in my head while Krunch somehow continues holding the lead together long enough to survive the final section of the race.
One final corner remains.
I cross the finish line in first place.
I immediately start fist pumping the air in celebration.
The hardest challenge of the randomizer so far is finally complete.
Although somewhere out there, Wizpig 1 is still waiting for me, and I strongly suspect that particular problem is going to be considerably worse.
Crescent Island Appears
With nine balloons collected, I briefly get lost trying to remember where I actually intended to go next.
Eventually, I remember that the nine-balloon door inside Snowflake Mountain still needs investigating.
Behind it waits Crescent Island.
And naturally, the randomizer decides this should be another five-lap race.
At this point, I am beginning to suspect the island simply enjoys watching my hands suffer.
The Sherbet Island key is available here, so I prioritise grabbing that before restarting properly for the race win.
Tiptup proves to be an immediate problem.
Not only are they faster than me, they also appear significantly more capable of driving in a straight line. Meanwhile, Krunch continues narrowly missing boost pads like he has developed a personal grudge against them.
Eventually, I manage to overtake Tiptup and maintain the lead for the remainder of the race.
Thankfully, Crescent Island is nowhere near as physically painful as Darkmoon Caverns. There are still some tight turns, but nothing too severe.
Although I suspect the silver coin challenge here will eventually attempt to change that.
The Hovercraft Challenge
With ten balloons collected, it is finally time for the hovercraft challenge.
Compared to everything else happening in this randomizer, the challenge itself is surprisingly straightforward. Three laps pass without any major disasters.
The real struggle begins when attempting to actually collect the balloon afterwards.
It genuinely feels like the balloon is attempting to actively avoid me.
Eventually, I manage to grab it and secure balloon number eleven.
Which means the door to where Sherbet Island should normally be is now open.
Unfortunately, I still have not investigated the door leading to where Snowflake Mountain itself has ended up.
But that feels like a problem for another day.
Episode Video
Progress Log
- Current Seed: 232968
- Balloons: 11
- Bosses Defeated: Bubbler 2, Smokey 2
- Silver Coin Challenges Cleared: Darkmoon Caverns
- Current Threat Level: Increasing mechanical instability
Continue the Journey
Entry 2 | Darkmoon Caverns And The Five Lap Disaster ←
Krunch% Archive
— All entries in this run.
Super Mario ROM Hacks Archive
— All Mario ROM hack content.


