Super Mario 64 Randomizer Log 7: Bowser in the Fire Sea Was Not the Plan
Mode: Randomizer
Lives Remaining: 17
Stars Collected: 38
Stars Remaining: 82
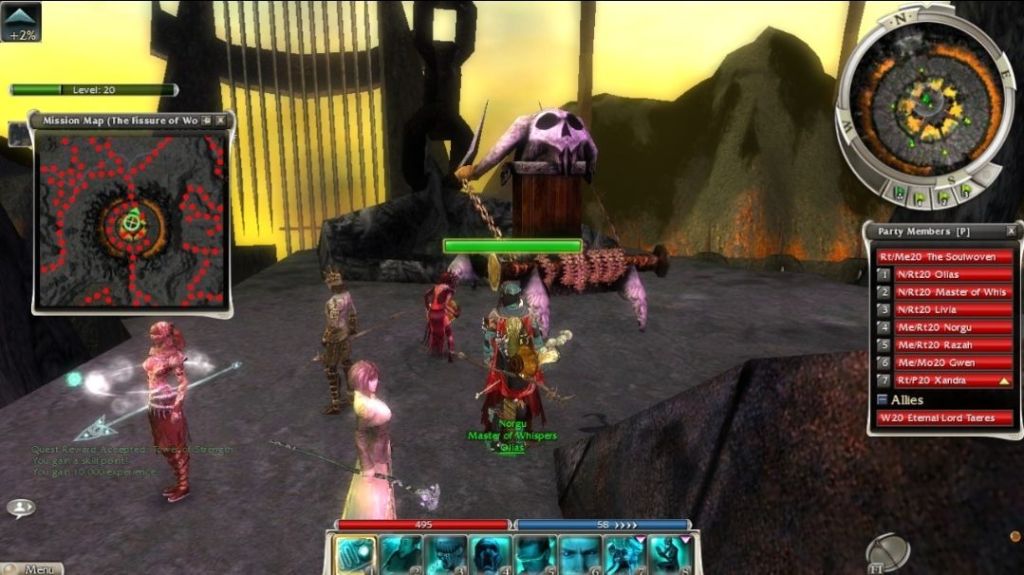
With Tick Tock Clock finally behind me, I head back downstairs to see what’s lurking behind the entrance that should lead to Hazy Maze Cave. The answer, apparently, is Bowser in the Fire Sea.
To make matters worse, a quick look around confirms the red coins are floating over lava. That problem can wait.
Bowser First, Questions Later
After a few failed attempts getting my bearings, I respawn right next to the Bowser fight entrance. I briefly consider going for the red coins first, then decide against it. Survival comes first.
This somehow turns into the only time I’ve ever failed this fight. I misjudge my position, step where I shouldn’t, and Mario drops straight into the lava.
The second attempt goes as expected. Bowser goes down, the key is mine, and we all agree not to talk about the first try.
The Red Coins Problem
With upstairs now unlocked, I return to the Fire Sea red coins. Several attempts later, it’s clear this set is going to be a nuisance. Precision jumps over lava with a randomizer twist are not something to rush.
I leave them for another session — and another video.
Video
Run Status
- Lives Remaining: 17
- Stars Collected: 38
- Stars Remaining: 82
- Next Goal: Explore upstairs and see what the randomizer has moved.
Continue the Randomizer
Randomizer Hub |
Log 6: Time Stops for No Mario |
Log 7 |
Log 8