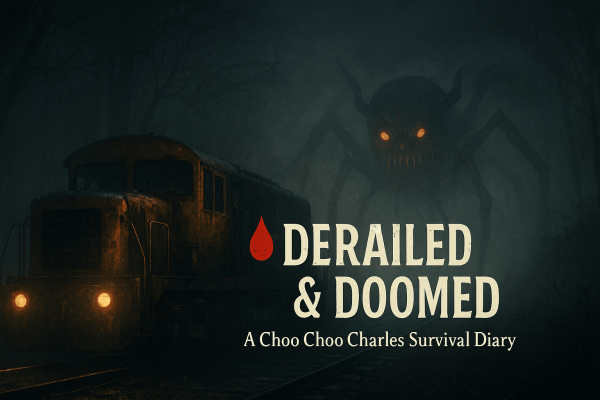
“Apparently Charles had other plans today. Which is fine — I had a date with destiny… and Gertrude.”
⚙️ Survival Status: 3 Strikes Total
Only Charles can take them away.
Each egg restores a lost strike — but I can’t exceed three.
When the last one’s gone, the run ends.
Watch: Fighting Charles twice and storming the northern mine (Steam Deck Gameplay).
The Setup — Gertrude’s Gift & Gale’s Key
I half-expected to hear that ominous whistle the second I loaded in, but the island was unusually quiet. No ambush, no chase — just eerie calm. I took it as an omen (probably a bad one) and rolled out to find my next local resident: Gertrude. She asked me to retrieve her late husband’s weapon and name it BOB in his honour. Honestly, she could’ve asked me to name it after her cat and I’d still have agreed — I need firepower more than morals at this point.
Not far down the line, I met Gale, who kindly handed over the final key I needed to access the last egg mine. Suddenly, everything clicked into place: I had all three egg locations and the coordinates for my potential final weapon. The problem? Reaching them alive. Step one: get BOB.
Round One — Collecting BOB (and Unwanted Attention)
I arrived at the scrapyard where cultists had taken BOB and barely had time to blink before that familiar whistle echoed across the valley. I slammed the train into forward and grabbed the Bug Spray. No visual — so I backed up, regrouped, and tried again.
That’s when I discovered two things. One: my train is a surprisingly effective cultist-flattening machine. Two: overshooting the area guarantees a personal visit from Charles himself.
The ensuing fight was messy. The Bug Spray pushed him back; the machine gun chipped away; the Boomer — well, let’s say my aim was more “creative fireworks” than “effective combat.” Eventually Charles retreated, but I somehow triggered a second encounter almost instantly. Double chaos for the price of one. After the rematch, he finally slunk away to lick his metallic wounds.
With the area silent again, I cleaned up the last surviving cultist (the train helped) and looted every scrap in sight. And there it was — BOB, shiny and furious. Welcome to the team, you beautiful piece of overkill.
Island Decisions — Next Stop: The Egg Mines
I debated my next step. Theodore’s mission was still on the board, Sasha’s definitely wasn’t, and the thought of climbing cliffs for a single scrap felt… inefficient. The choice was clear: time to start collecting eggs.
Egg #1 — Northern Mine Mayhem
The northernmost mine seemed like the least terrible option. A lone cultist patrolled outside — I introduced them to BOB. Inside, I discovered something new: I could actually lean left and right. Whether it’s a mine-only feature or some unintentional stealth buff, I’ll test it later.
I crept through the tunnels, listening to a cultist whistle a cheerful little tune that made the situation feel way too casual. I tried sneaking past — failed spectacularly — and took a bullet for my efforts. Panic mode engaged. I sprinted, found the glowing egg, yanked a few random levers, and bolted for daylight.
One egg secured. One strike restored. Back to three lives remaining.
Log Observations & Survival Notes
- BOB is a beast: Best used for short, devastating bursts. Don’t overheat it.
- Bug Spray still reigns supreme: It’s the best tool for making Charles think twice.
- Scrap remains sacred: You will always need more than you have.
- Cultists aren’t bulletproof: Especially not when they meet the front of a train.
- Leaning in mines helps: It might not save you, but it makes dying funnier.
Pro Tips (Steam Deck Edition)
- Use gyro aiming if you can — it helps land those tricky shots with the Boomer.
- Don’t linger near cultist camps — they hear the train before you see them.
- BOB + Bug Spray combo = panic fire supremacy.
- Take fights on straight track when possible — easier weapon tracking, safer retreats.
- After Charles retreats, loot nearby paths fast — his cooldown window is short.
Need a guide? Explore every stop, scrap pile, and spider sighting with the Aranearum Island Map Guide — your unofficial atlas to surviving the rails.

