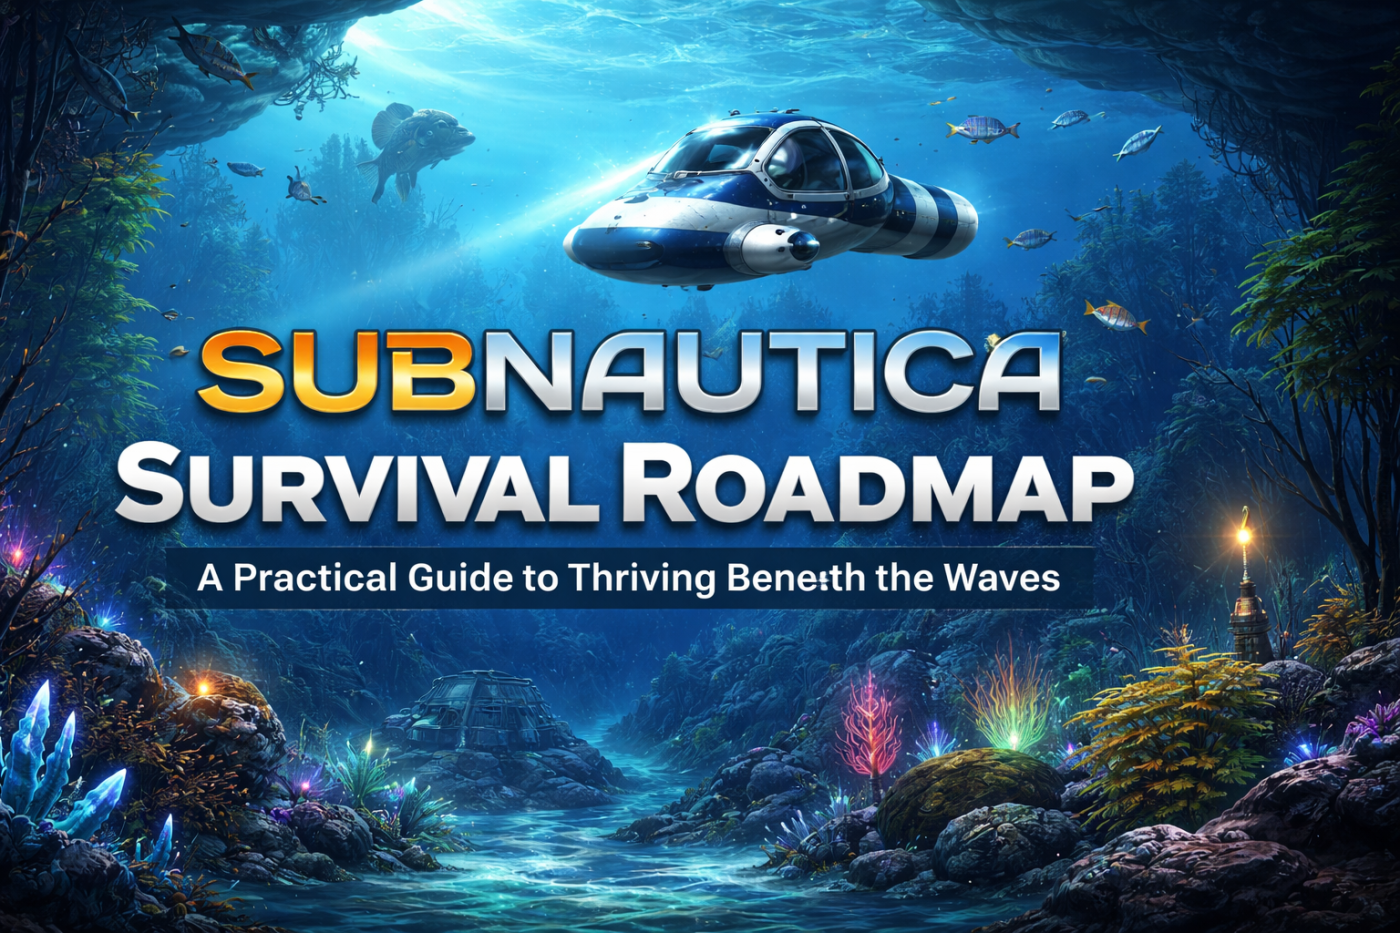
Subnautica isn’t just a game—it’s an open-ocean survival challenge set on an alien world, where your priorities are resource management, safe exploration, and avoiding anything with too many teeth. This guide covers everything from your first minutes in the lifepod to establishing deep-sea outposts. You’ll learn how to secure food and water, craft essential tools, choose safe base locations, handle predators, and prepare for the most dangerous zones in the game. Whether you’re new to survival games or just new to this one, this is the roadmap for thriving beneath the waves.
1. Getting Started: Your First Day Underwater
Before you start thinking about deep-sea exploration, you need to stabilise your situation close to home.
Assessing Your Situation
When you wake to alarms and smoke inside your lifepod, your first step is to grab the fire extinguisher and put out the flames. Your PDA will switch to emergency mode—this is your lifeline for crafting recipes, tracking vital signs, and guiding your objectives.
Prioritising Early Objectives
- Repair the Lifepod: Craft a Repair Tool (Silicone Rubber, Cave Sulfur, Titanium) to fix the radio and secondary systems.
- Gather Food & Water: Hunt Bladderfish for water (Filtered Water via Fabricator) and cook Peepers or other fish for food.
- Scout the Shallows: Collect Titanium from metal salvage, Copper from limestone outcrops, and Acid Mushrooms for batteries.
Key Early Tools
- Scanner – Unlocks blueprints and identifies resources.
- Survival Knife – For harvesting and basic defence.
- Fins – Speeds up swimming.
- Standard O₂ Tank – Extends your underwater time.
2. Essential Early Game Crafting
Once you have the basics, it’s time to focus on mobility, protection, and unlocking better technology.
Mobility and Exploration
Your first big mobility upgrade is the Seaglide (Battery, Copper Wire, Lubricant, Titanium). It lets you travel faster, outrun smaller predators, and explore further before running out of oxygen.
Survival Upgrades
- High Capacity O₂ Tank: Doubles oxygen supply. Requires Glass, Titanium, and Silver.
- Compass: Helps you orient yourself—hugely important without a minimap.
- Radiation Suit: Needed to explore the Aurora after the reactor breach.
Beginner-Safe Resource Locations
Need help finding your way? Check out the Subnautica Map Hub for detailed biome layouts and resource locations.
- Titanium: Metal salvage in Safe Shallows & Kelp Forests.
- Copper: Limestone outcrops in Safe Shallows.
- Silver: Sandstone outcrops on Grassy Plateaus edge.
- Lead: Sandstone in Kelp Forest caves and Grassy Plateaus.
- Creepvine Samples: Kelp Forest stalks (knife required).
- Quartz: Safe Shallows and Kelp Forests, especially at night.
3. Building Your First Base
With a good oxygen supply, faster travel, and your basic tools ready, you can start thinking about a permanent home.
When to Start Building: Begin planning your starter base once you have a Seaglide, High Capacity O₂ Tank, and enough storage clutter in the Lifepod to feel cramped. Having some Silver, Lead, and Titanium stockpiled will make the build much smoother.
Choosing a Location
- Near Lifepod 5: Easy to access starting resources.
- Border of Safe Shallows & Grassy Plateaus: Balances safety with deeper resource access.
Core Structures
- Multipurpose Room: Your main living space.
- Solar Panels: Reliable shallow-water power.
- Fabricator & Lockers: Crafting hub and storage.
- Medical Kit Fabricator: Keeps you stocked with medkits.
Expanding Safely
- Add a Moonpool to dock and recharge vehicles.
- Install Exterior Growbeds for food crops like Marblemelons and Chinese Potatoes.
4. Mid-Game Progression
Once you’ve got a functional base, your focus shifts to expanding your range with vehicles and better gear.
Vehicle Development
- Seamoth: Your first personal submersible. Upgrade with depth modules.
- Prawn Suit: For deep mining and high-pressure exploration.
- Cyclops: Your mobile base for long expeditions.
Predator Quick Reference
- Stalker
Where: Kelp Forest
Threat: 🟡 Medium
How to Deal With: Distract with metal salvage or keep your distance.
- Sand Shark
Where: Grassy Plateaus, Dunes
Threat: 🟡 Medium
How to Deal With: Swim above them or outrun with Seaglide.
- Bone Shark
Where: Sparse Reef, Grand Reef
Threat: 🟡 Medium
How to Deal With: Avoid or use Stasis Rifle if aggressive.
- Reaper Leviathan
Where: Aurora area, Dunes, Mountains
Threat: 🔴 High
How to Deal With: Avoid at all costs; Stasis Rifle or Creature Decoy if cornered.
- Warper
Where: Deep biomes, Lost River
Threat: 🔴 High
How to Deal With: Keep distance; can teleport you out of vehicles.
- Ghost Leviathan
Where: Grand Reef, Lost River, Void
Threat: 🔴 Extreme
How to Deal With: Avoid entirely—too fast and dangerous.
Advanced Resources
You’ll need Magnetite, Lithium, Ruby, and Nickel for high-tier upgrades. Each requires trips to deeper, more dangerous zones.
5. Deep-Sea Survival Strategies
Once your vehicles and base upgrades are in place, you’re ready to tackle the most dangerous parts of the map.
Environmental Hazards
- Pressure: Without depth modules, your vehicles will crush.
- Heat: In volcanic areas, stay in your vehicle or use a reinforced suit.
- Oxygen Supply: Always carry extra air tanks or place Air Pumps with pipes.
Efficient Deep Exploration
- Stage supply bases with spare power cells, water, and food.
- Use Beacons to mark key resource locations and wrecks.
- Bring the right vehicle for the biome—Prawn Suit for mining, Seamoth for agile scouting, Cyclops for long-term presence.
First Aurora Expedition Checklist
Before heading to the Aurora wreck, make sure you bring:
- ✅ Radiation Suit
- ✅ Repair Tool
- ✅ Laser Cutter
- ✅ Fire Extinguisher
- ✅ Seaglide
- ✅ Knife (optional but useful)
- ✅ At least 2 bottles of water & 2 medkits
Endgame Preparation
From here, your focus is on gathering rare materials, upgrading to maximum depth modules, and preparing to build the Neptune Escape Rocket. Keep your radio functional for storyline triggers.
Safety Tips for New Players
- Save Often: Subnautica isn’t permadeath by default, but dying far from home can waste a lot of time and resources.
- Listen for Audio Cues: Predator roars are an early warning—if you hear one, stop and look around.
- Always Carry Spares: A dead battery or empty water supply can kill you as surely as any predator.
- Respect the Deep: Don’t rush into biomes your equipment isn’t ready for.
Subnautica Nintendo Switch Controls (Default)
| Button / Input | Action |
|---|---|
| L Stick | Move / Swim |
| L Stick (Press) | Sprint (hold) |
| R Stick | Look Around |
| R Stick (Press) | Take Picture |
| A | Left Hand / Use (interact, use item) |
| B | Exit / Holster (unequip) |
| X | Jump / Swim Up (when on surface) |
| Y | Change Battery (reload equipped tool) |
| L | Swim Up |
| R | Swim Down |
| ZL | Left Hand / Use (tools/vehicles/building) |
| ZR | Right Hand (primary use/attack/build) |
| D-Pad Up | Alternative Use |
| D-Pad Down | Deconstruct (with Habitat Builder) |
| D-Pad Left | Previous Item / Rotate Item Left (build mode) |
| D-Pad Right | Next Item / Rotate Item Right (build mode) |
| – (Minus) | PDA |
| + (Plus) | Pause Menu |
Note: Controls are customisable in Options → Bindings. These are the default Switch mappings.
Recommended First Goals: Days 1–3
Days go fast — treat these as milestones, not a strict timeline.
- Priority 1 – Secure the Essentials: Repair Lifepod, get food & water, craft O₂ tank, build Scanner.
- Priority 2 – Mobility & Early Upgrades: Seaglide, Compass, High Capacity O₂ tank, Survival Knife, gather mid-tier materials.
- Priority 3 – Base & Vehicle Prep: Build starter base, grow food, craft Mobile Vehicle Bay, prep for Aurora.
Quick Start Card – First Priorities
🔍 Unlocking Crafting
To make new gear, you must either:
- Find blueprints in data boxes
- Or scan fragments with your Scanner
Priority 1 – Secure the Essentials
- 🔧 Repair Tool → Fix Lifepod Radio & Systems
- 💧 Bladderfish → Filtered Water
- 🐟 Peepers → Food
- 🫧 Standard O₂ Tank
- 📡 Scanner → Scan everything
Priority 2 – Boost Mobility & Gear
- 🚀 Seaglide
- 🧭 Compass
- 🫧 High Capacity O₂ Tank
- 🔪 Survival Knife
- ⛏ Gather Silver, Lead, Gold
- 🌿 Creepvine Samples, Stalker Teeth
Priority 3 – Build First Foothold
- 📍 Safe Shallows ↔ Grassy Plateaus border
- 🏠 Multipurpose Room, Solar Panels, Fabricator, Lockers
- 🌱 Exterior Growbed (Marblemelons)
- 🛠 Mobile Vehicle Bay → Seamoth
- ⚠ Aurora prep gear
✅ Results:
Repaired lifepod & radio • Food & water supply • Oxygen & speed upgrades • Starter base & storage • Vehicle path unlocked
Conclusion: Actionable Takeaways
- Secure food, water, oxygen, and navigation tools before venturing far.
- Upgrade mobility and depth capacity gradually to avoid sudden deaths.
- Build bases strategically to cut down travel time.
- Use beacons and scanners to track resources and unlock new tech.
- Treat curiosity with caution—there’s always a bigger fish.
Follow these steps, and you’ll turn your first panicked swim into a confident voyage into the deep.
